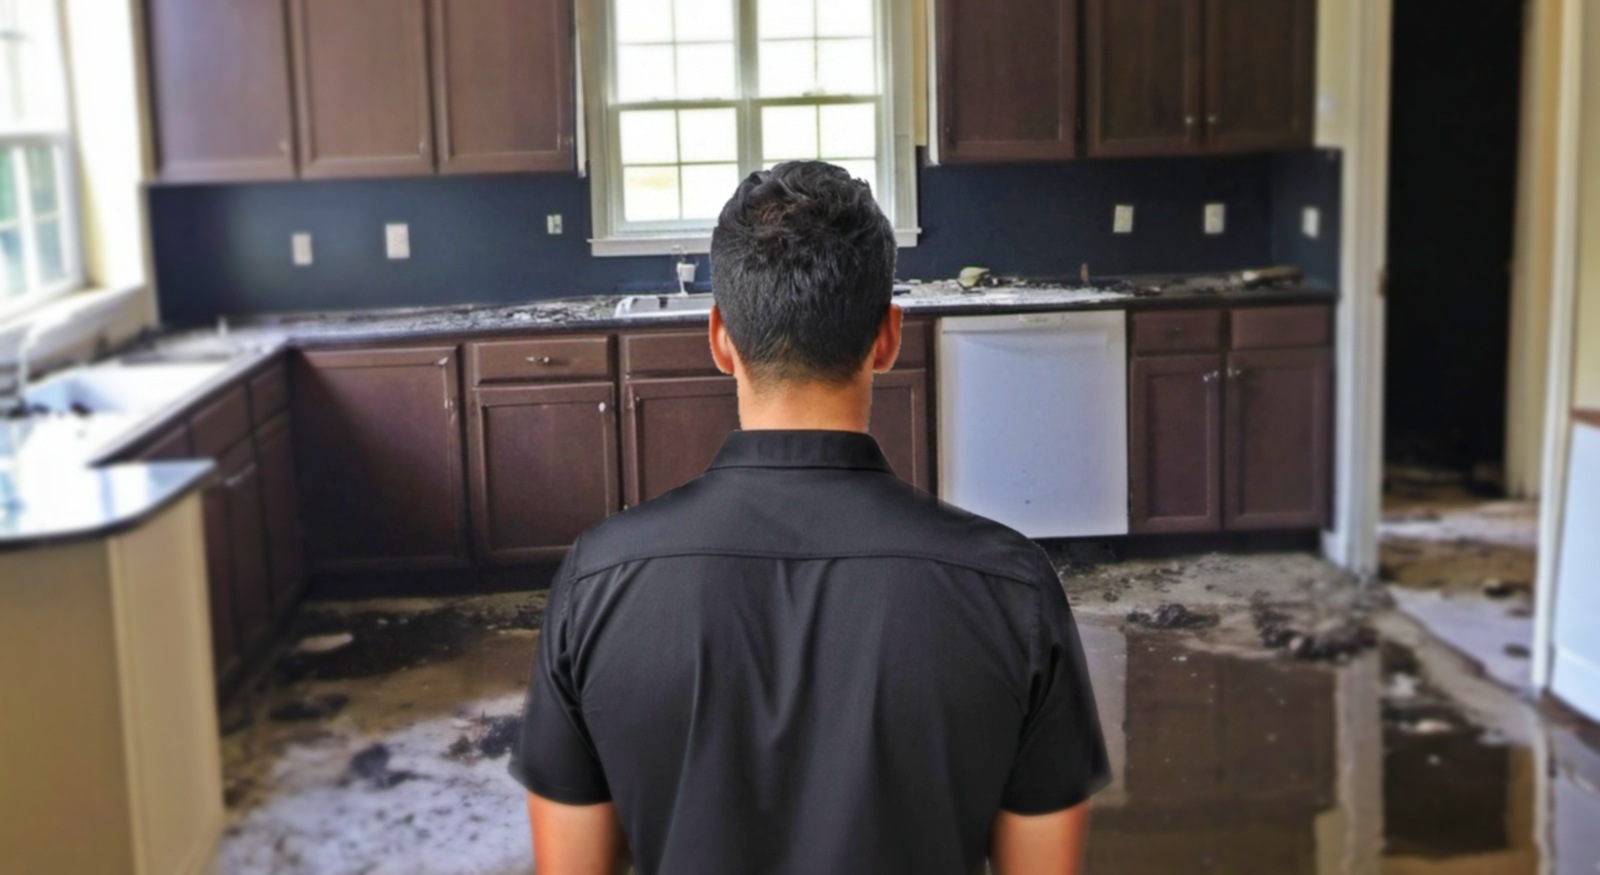
If you're a homeowner experiencing water damage, you're likely hearing words like remediation or mitigation. Although they sound similar, they're pretty different, and the restoration industry loves to use these industry terms to overwhelm customers.
Certified by the IICRC and with over 40 years of combined experience, we at Restore-It deeply understand these operations. And guess what? We are here to tell you all you need to know about them.
So get ready because in this article we will discuss the distinctions between mitigation and remediation and what to expect in each process.
Water Mitigation vs. Water Remediation: 3 key differences
Once you confirm you have water damage and call a restoration company, the mitigation and remediation process can start. Though they overlap, mitigation and remediation are not the same. Here's how they differ:
1. The goals
When you call a reputable restoration company, the first part of their job is mitigation, which revolves around stopping the water damage in a home to prevent further damage. Remediation is about removing contaminants from the space. It does not involve repairing and rebuilding structures affected by the water damage.
2. The courses of action
Given their different objectives, each process diverges on the path it takes. The mitigation phase involves inspecting the damage, water extraction, and drying to prevent mold and structural issues. The remediation phase includes cleaning, drying, odor removal, and safe disposal. When working with a reputable restoration company, both processes will be documented for insurance claims and your peace of mind.
3. The timing
Mitigation begins immediately after water damage is found and continues until the affected area is stabilized. Once this process is complete, remediation can begin, focusing primarily on cleaning and removing any damaged material that cannot be dried.
As you can see, these operations go hand-in-hand during your typical water damage restoration job.
Water Mitigation: 6 steps to prevent further damage to your home
Now that you're familiar with the crucial distinctions between each process let's dive deeper into understanding what exactly water damage mitigation is. The following steps are taken during the mitigation phase:
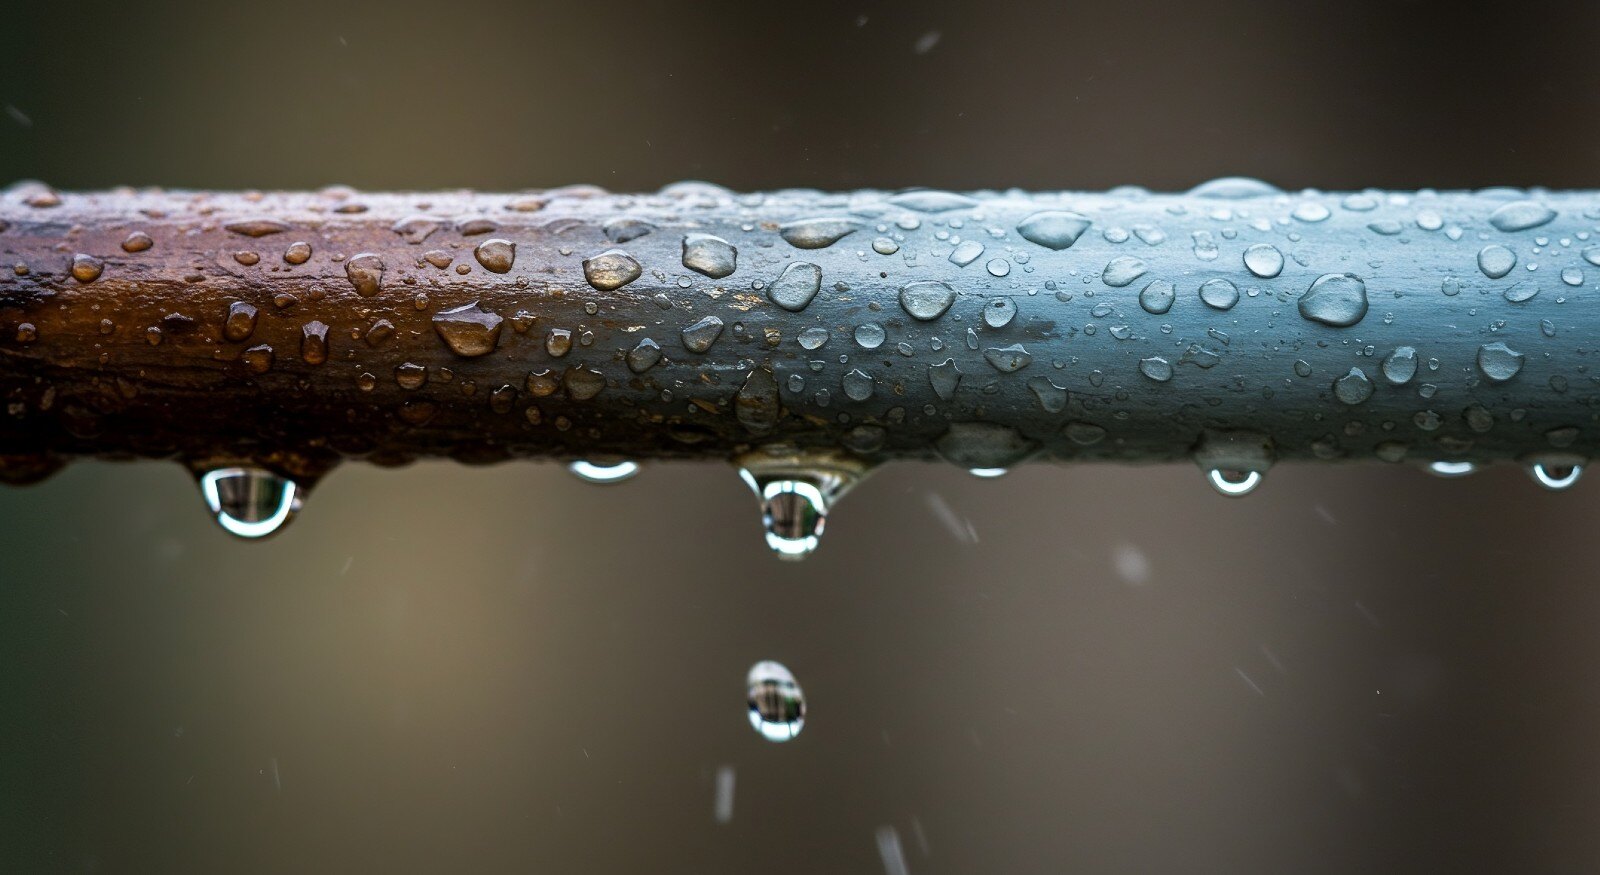
1. Stopping the flow of water
To begin, stop the water flow by locating the source of the leak or flood and shutting off the water supply at its source or by turning off the house's main valve. Please remember to be careful with slippery surfaces or electrified water. Call a certified electrician or a reputed water damage restoration company if you are unsure how to do it or feel unsafe.
2. Emergency extraction
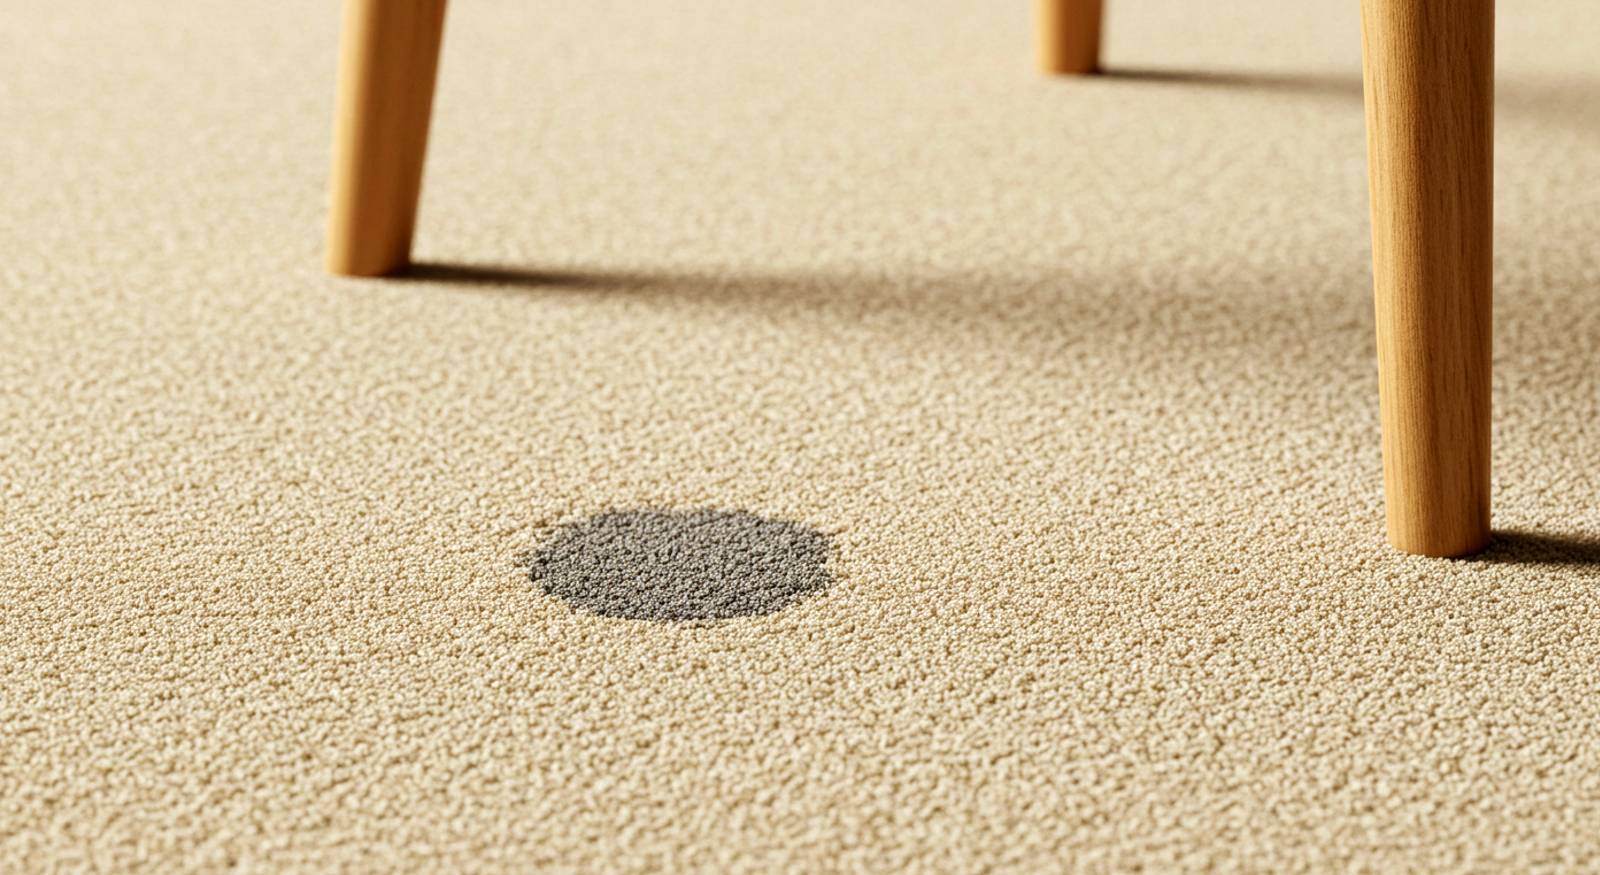
If there's still standing water, the technicians will use industrial pumps to remove any standing water from the area. The same applies if the carpet is wet, as removing it before drying could expose other areas to water unnecessarily. If that’s not the case, the next step will occur right after the first one.
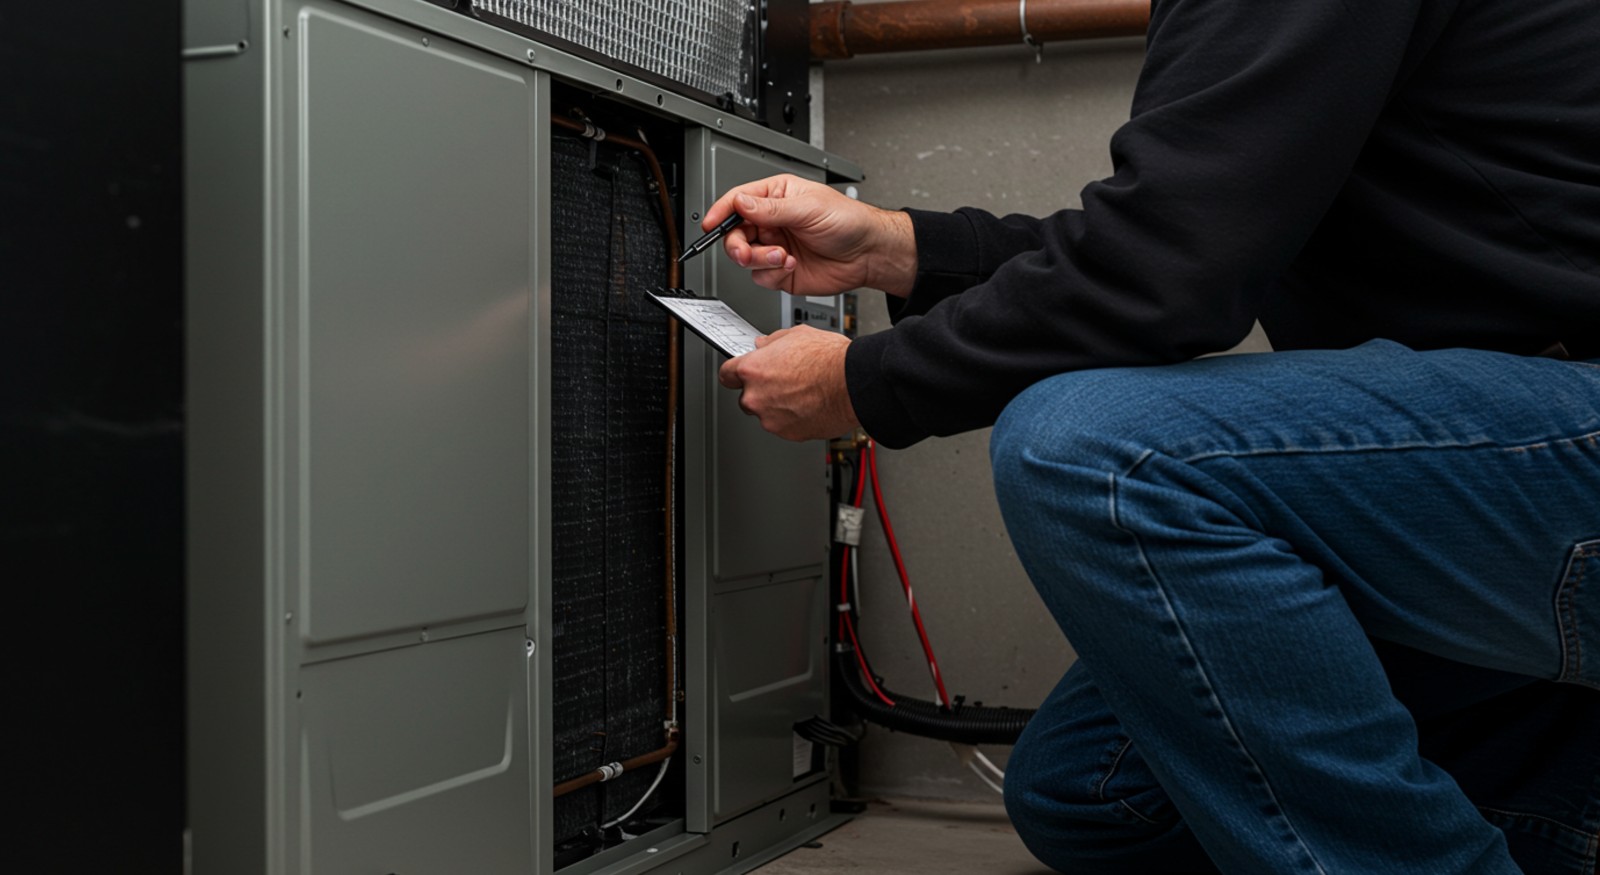
3. The inspection
After stopping the water flow, technicians use a "moisture meter" to measure water content in building materials and assess affected areas for stability. The documentation may include photos, videos, and a full 3D scan of the area for a detailed picture of the house's current state.
4. Laying out the plan
After assessing the damage, the technicians will explain their plan. If materials and belongings can be dried, they will extract the water. Anything that cannot be dried or has come into contact with contaminated water must be removed and safely disposed of.
5. Protecting your belongings and removing materials
The technicians will move all the materials affected by the water, such as furniture, and protect them with tarps as needed.
However, if they were in contact with contaminated water or are too damaged by the water, they will be deemed “unsalvageable” and would need to be safely disposed of.
The same applies to any building materials in the same situation. This may mean that drywall, carpet, or other building materials have to be removed from the home and thrown out.
Technically, material removal belongs to the remediation phase (remember when we told you these two processes go hand-in-hand?). Still, it’s done during this stage as it wouldn’t make sense to dry materials that need to be discarded anyway.
6. Drying and dehumidifying the area
After the initial steps additional equipment is used to remove remaining water from the air and surfaces. These include industrial dehumidifiers, air movers, and desiccant dehumidifiers.
The desiccant dehumidifier is used only in cases where drying needs to be done in cool temperatures, such as during the winter season.
Air scrubbers with HEPA filters are used simultaneously to clean the area. Remember that the amount of equipment used and the time it will take to dry the place will depend directly on how extensive the damage is, how fast the response is, and the types of building materials affected.
While mitigation is crucial for stopping water damage and starting the drying process. The next step, remediation, involves immediate cleanup actions by the restoration company.
Water Remediation: 5 key steps for an effective cleanup
This phase involves removing contaminants based on the previous layout plan. Next, we will see what those actions amount to, step by step:
1. Removal of materials
In the event of water damage, building elements such as flooring, baseboards, carpets, sheetrock, and any other materials that have lost their integrity must be removed.
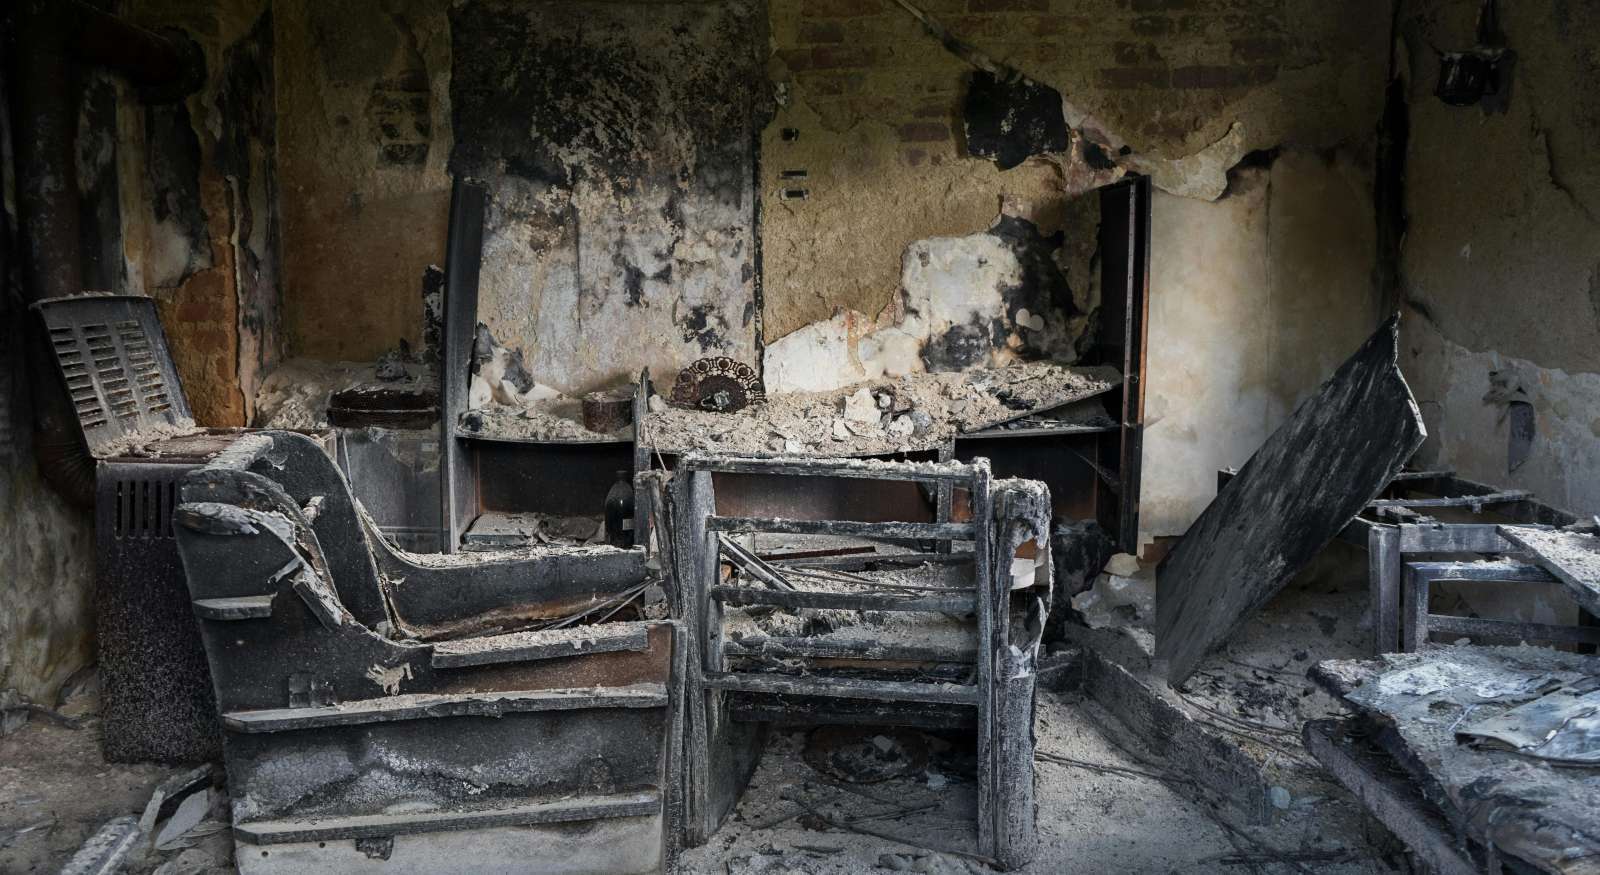
To ensure your safety, removing building materials is vital in cases where the water source is contaminated (gray or black water). It’s not pleasant to talk about, but a good deal of water damage comes from things like sewer pipes backing up into your home. In this case, the need to remove anything that has been sitting in raw sewage is pretty obvious.
In this situation, all affected personal belongings, such as clothes, pillows, box springs, and mattresses, must be removed and discarded. This phase usually occurs during step 5 of the mitigation process to improve efficiency and reduce the time needed to complete the job.
Please do not attempt to dispose of truly contaminated materials on your own. You need a qualified expert to ensure your health and safety and that of your family.
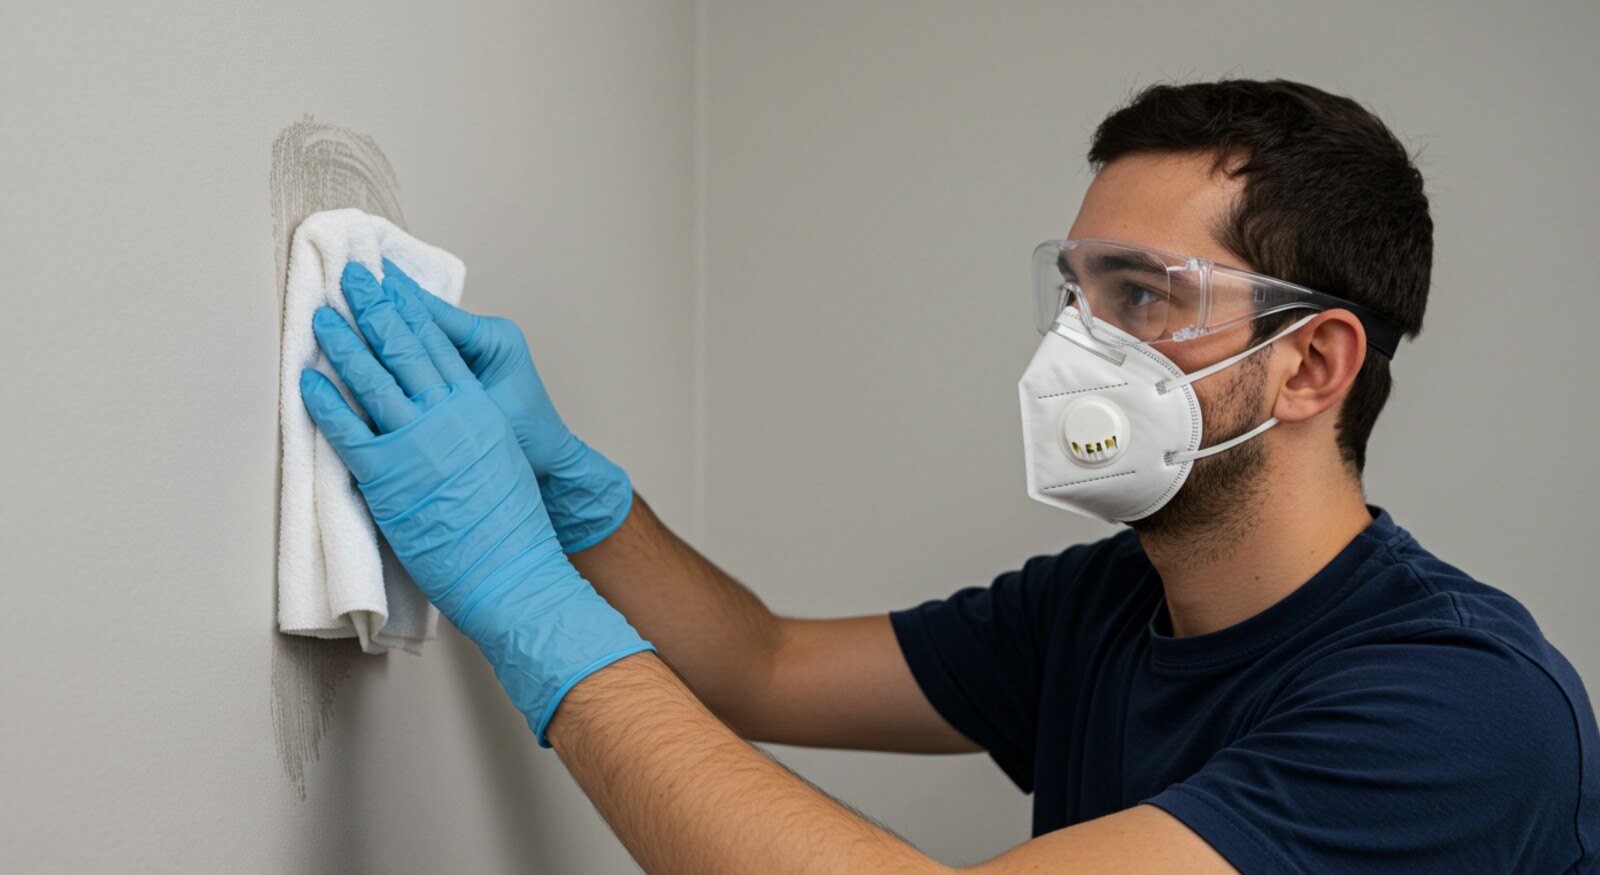
2. Sanitizing the area
The technicians will apply antimicrobials ("biocides") during this phase.
These chemical agents will treat any remaining potentially dangerous microorganisms like bacteria, fungi, parasites, and viruses. This is generally applied to surfaces exposed to the water (either touched the water directly or anything that has absorbed water).
They are also typically applied to flooring up to two feet up the wall. Depending on the case, biocides can be used on the floor by spraying from underneath in a crawlspace or a basement.
The “2 feet up the wall” rule only applies when the water source is clean or contaminated with food particles or detergents only (grey water). If the water damage comes from a highly contaminated source, like sewage, these chemicals will be applied to all wet surfaces.
3. Item cleaning
Various cleaning methods are used, such as scrubbing for hard surfaces or washing carpets or dry cleaning them if needed, and immersion cleaning for smaller items.
Further, deodorizing agents or techniques will address any odors that may remain.
Finally, all electronic equipment, appliances, and other delicate items will be assessed for specialized cleaning.
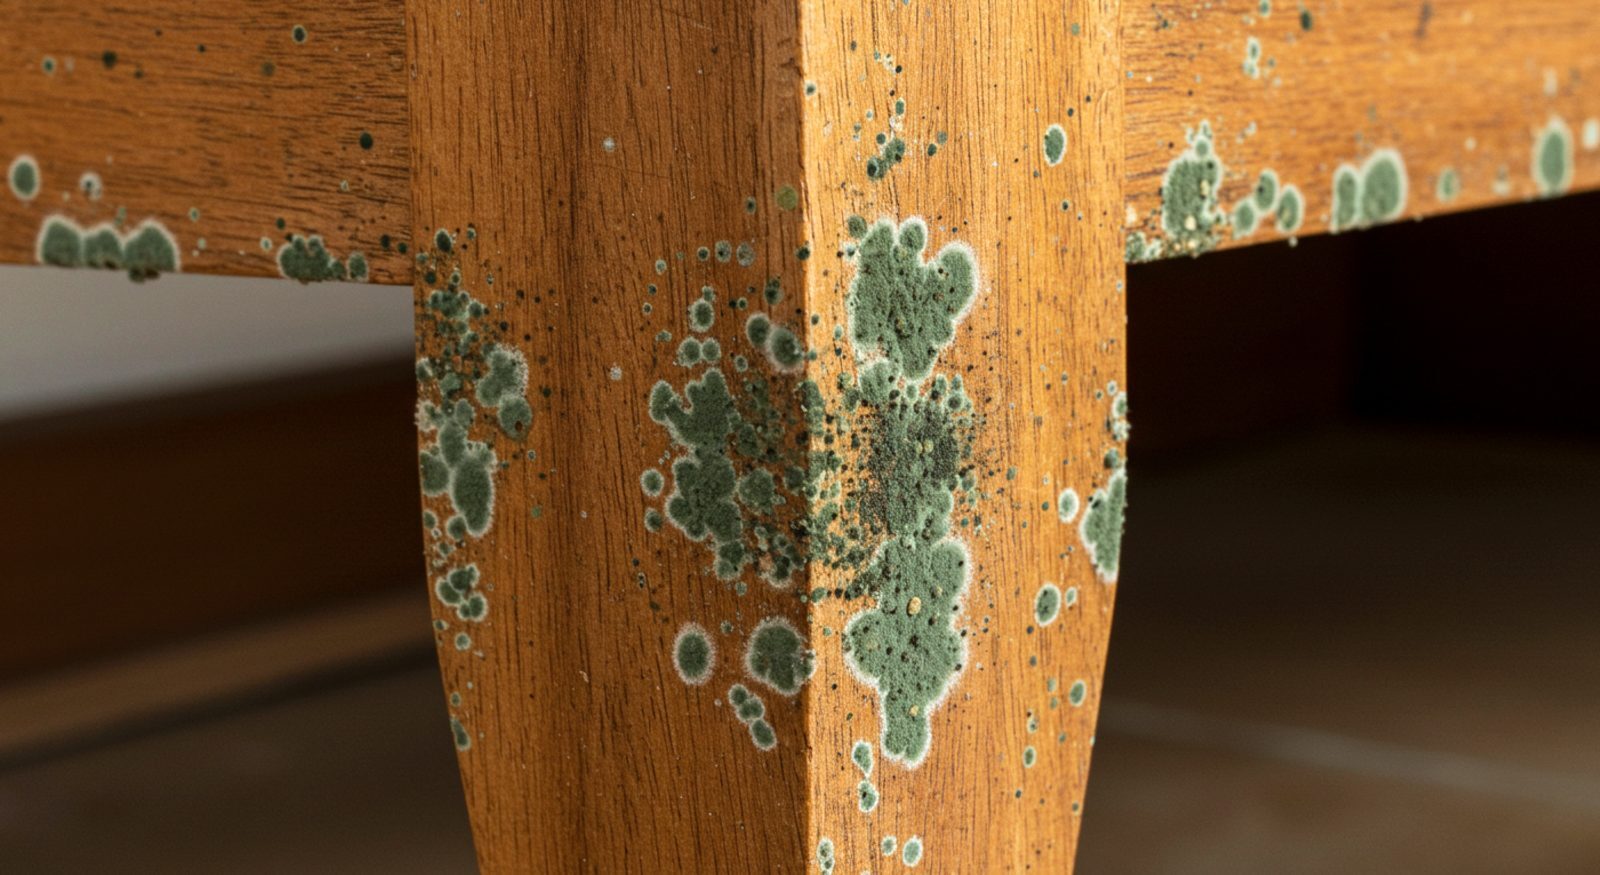
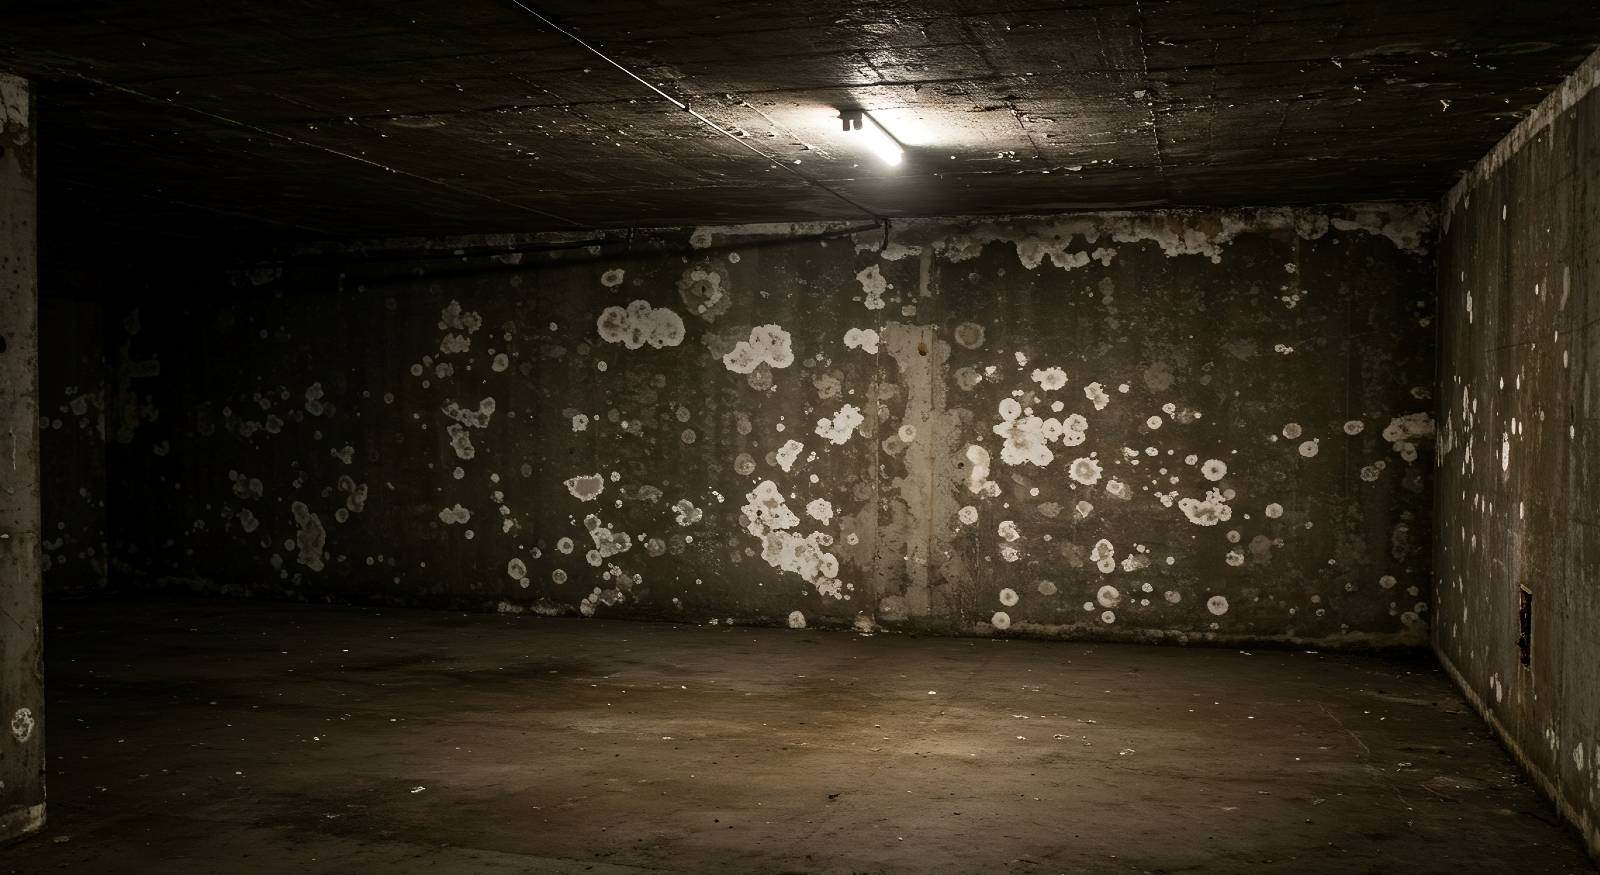
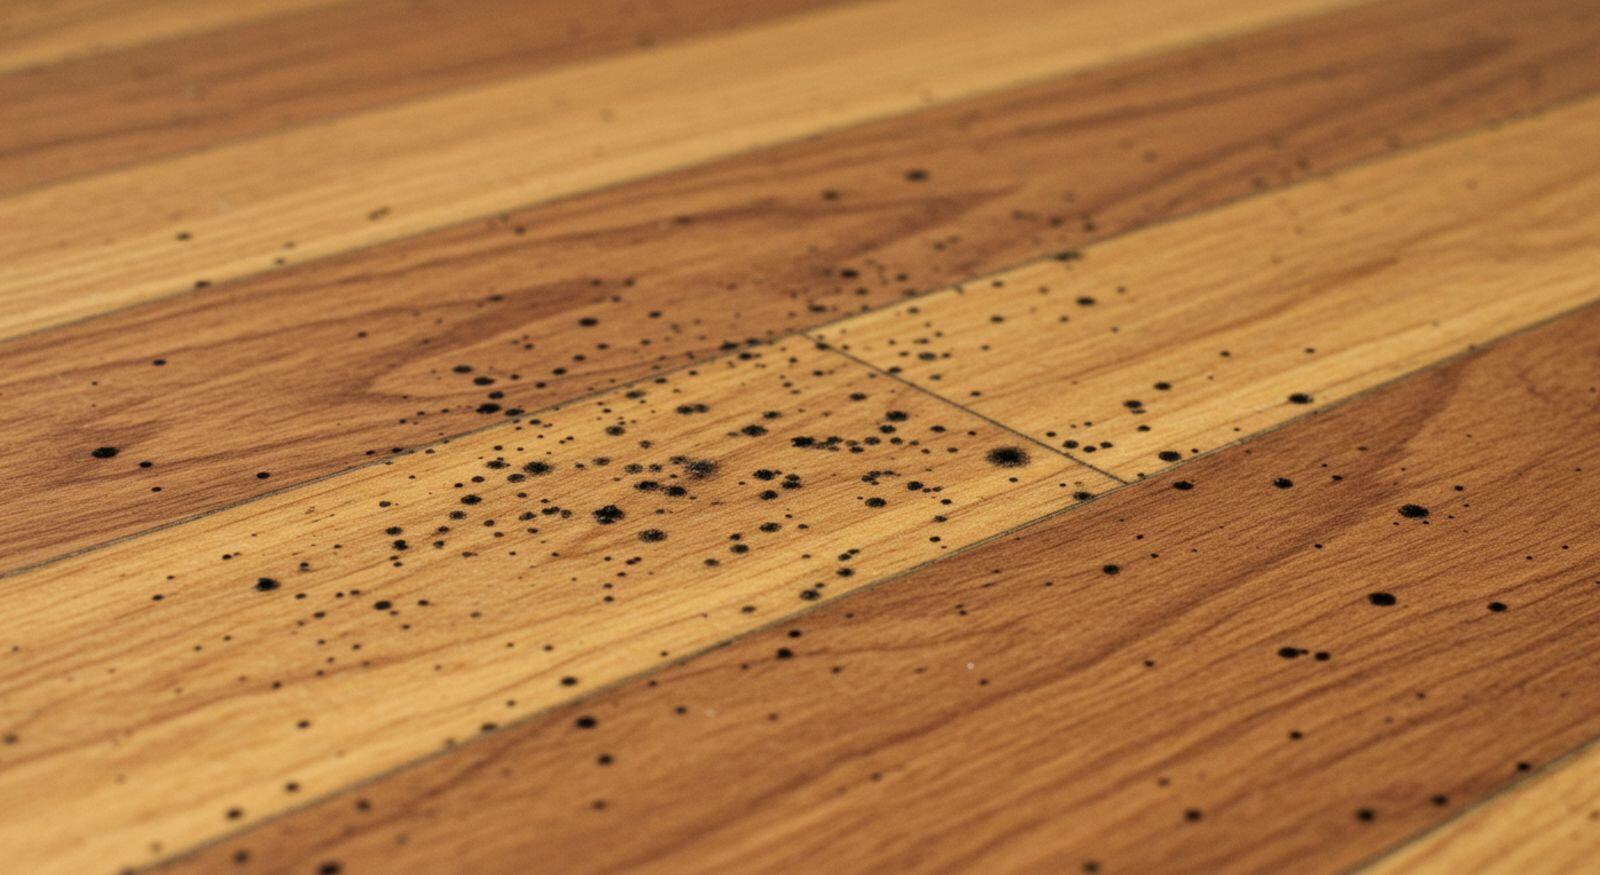
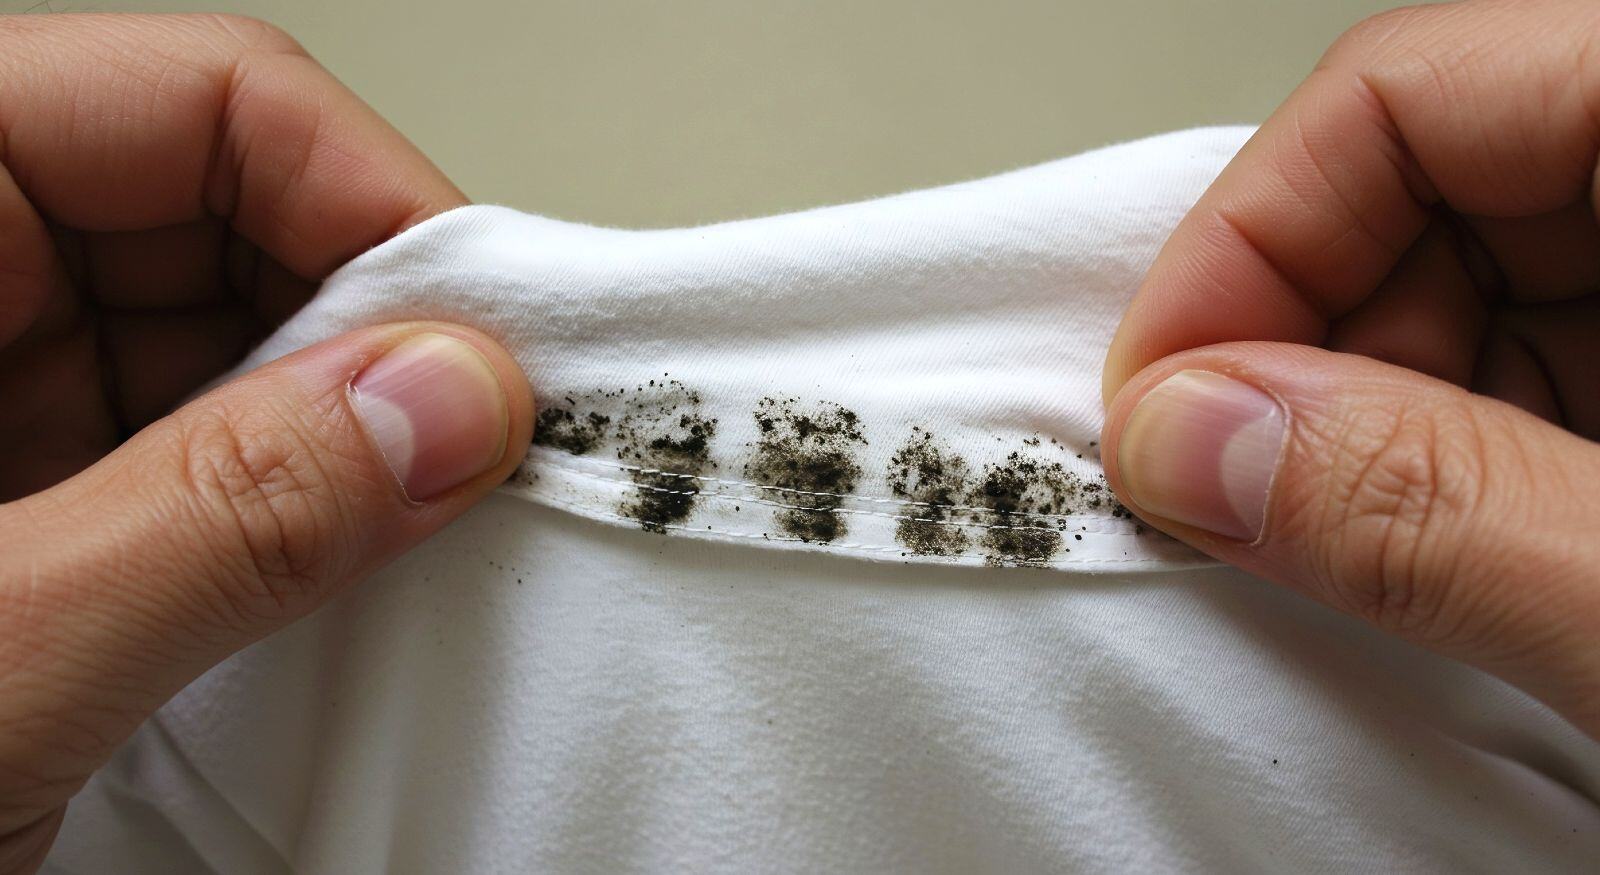
4. Mold remediation
If black mold (or any visible microbial growth) has started growing on the walls, a mold remediation process will follow specific protocols.
This may involve containment, mold removal, and thoroughly cleaning and disinfecting the area. This is often addressed during step 5 of the mitigation phase before drying and dehumidifying can start.
5. Final inspection
At this point, the restoration company will conduct a final review and testing of the cleaned and sanitized areas to verify that all contaminants have been removed and that the house is ready for the restoration process, should it be needed.
So far, we have talked about mitigation and remediation and how they differ. While each action is vital to ease and prevent further damage, it's a good idea to note how crucial the inspection process is. During the inspection, humidity levels that could harm building materials, lead to mold growth, and compromise the building structure are checked. As Marcus Osborn from Restore-It puts it: “When it comes to water damage, it’s not what you see but what you don’t see that can hurt you the most.”
While we discussed extensively what the water damage mitigation and remediation processes include, we lightly hinted at a third process: restoration. If you are wondering what it involves and how they all connect together, worry not. In the next article, we discuss the differences between mitigation and restoration.


