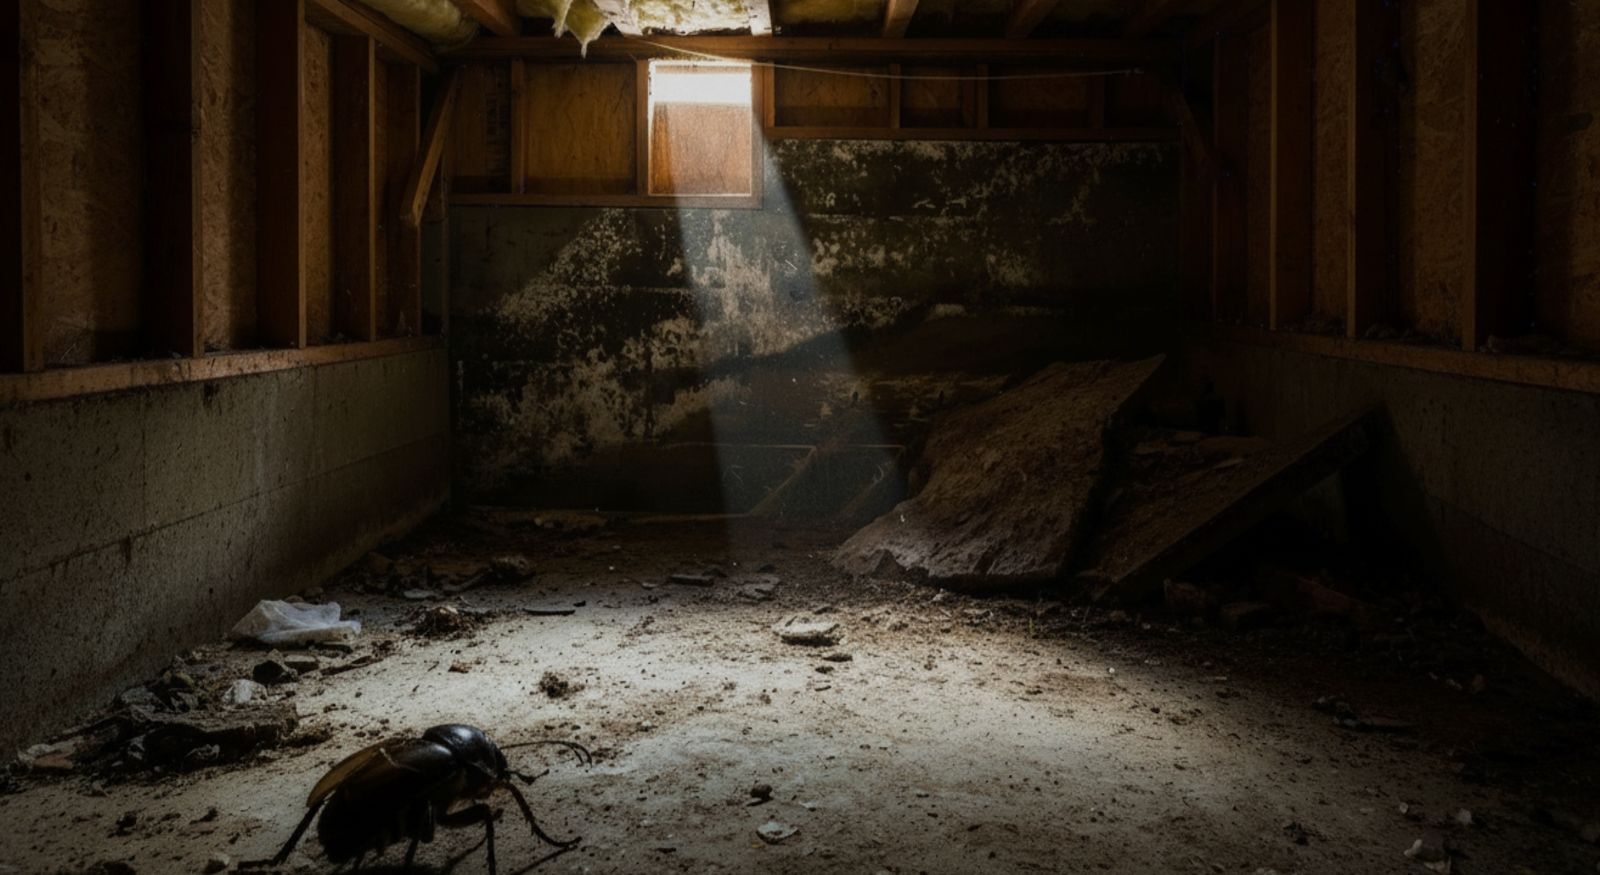
Do you suffer from asthma and feel worse when you are in your home? Perhaps you have seen mold grow out of nowhere on some of your walls. Or maybe you have seen an occasional mouse or insect throughout your home but have no clue where they came from. If any of these sound familiar, chances are you have a problem with your home’s crawl space.
With over five decades of combined experience and hundreds of satisfied customers, we at Restore-It know the importance of keeping a crawl space dry and sealed from outside intrusions. Our services can improve your house's indoor air quality, better pest control, long-term energy bill savings, and structural integrity protection for your home.
With crawl space encapsulation, you can make your home healthier and save some money along the way. So join us in discovering how we accomplish this process. We will guide you through the initial inspection, cleanup, sealing, and dehumidification phases and any additional touches your house may need to ensure your and your family's well-being.
Crawlspace encapsulation: Our step-by-step process
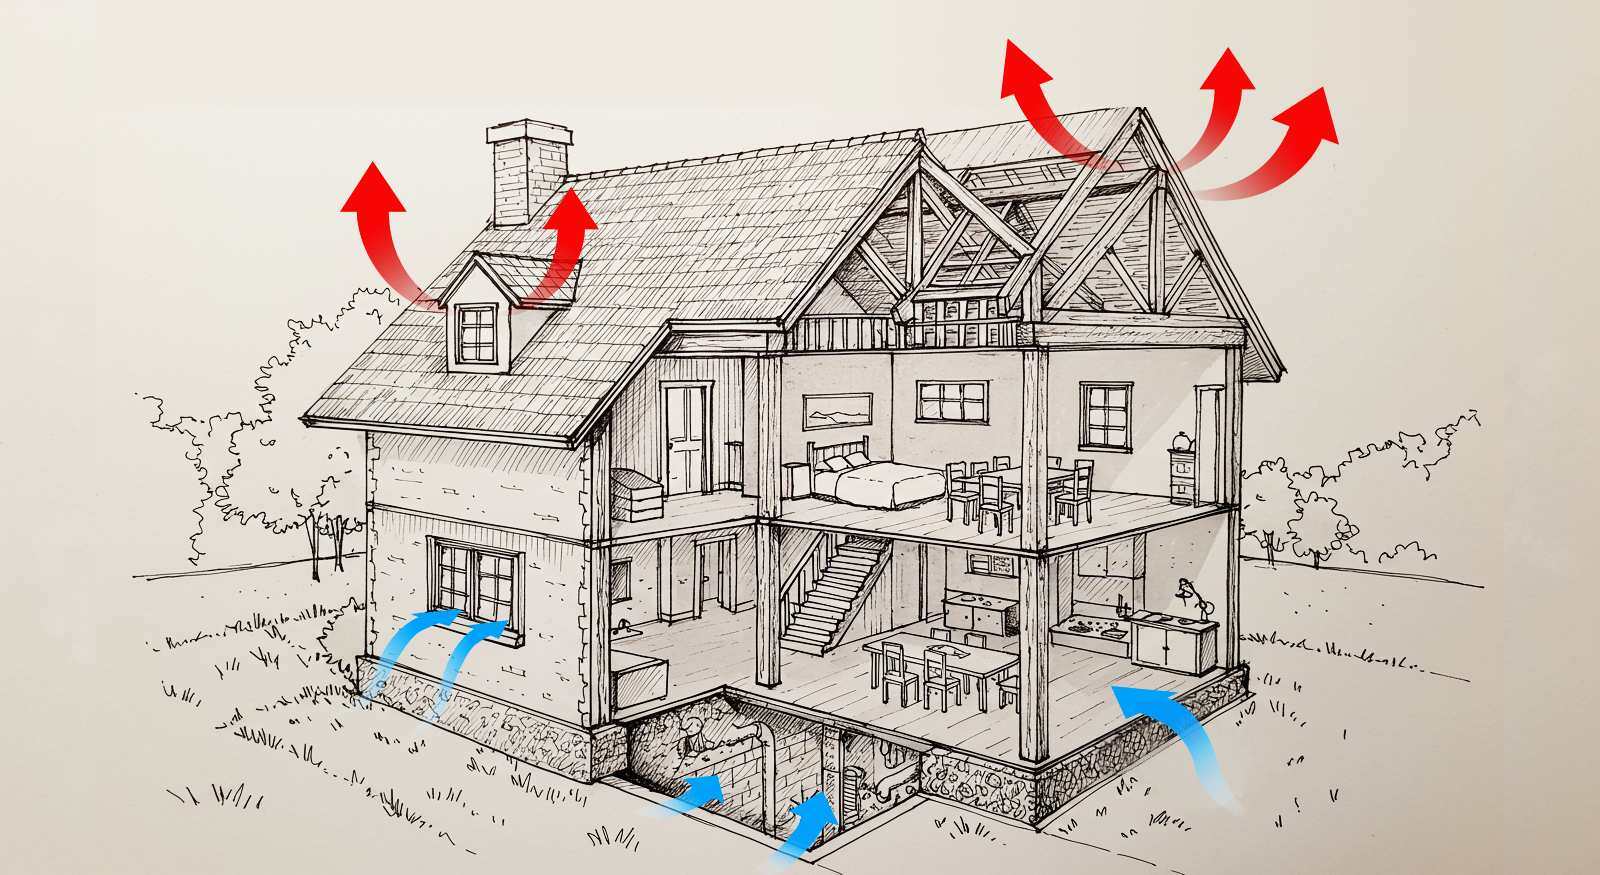
Due to a natural phenomenon known as the "stack or chimney effect," an important percentage of the air on the first floor of your home will come from your home’s crawl space. This is the reason why it is vital for your house’s indoor quality to take special care of the crawlspace.
Also, controlling the moisture levels will avoid damage to your house's structure. Next, we detail how we do this process at Restore-It:
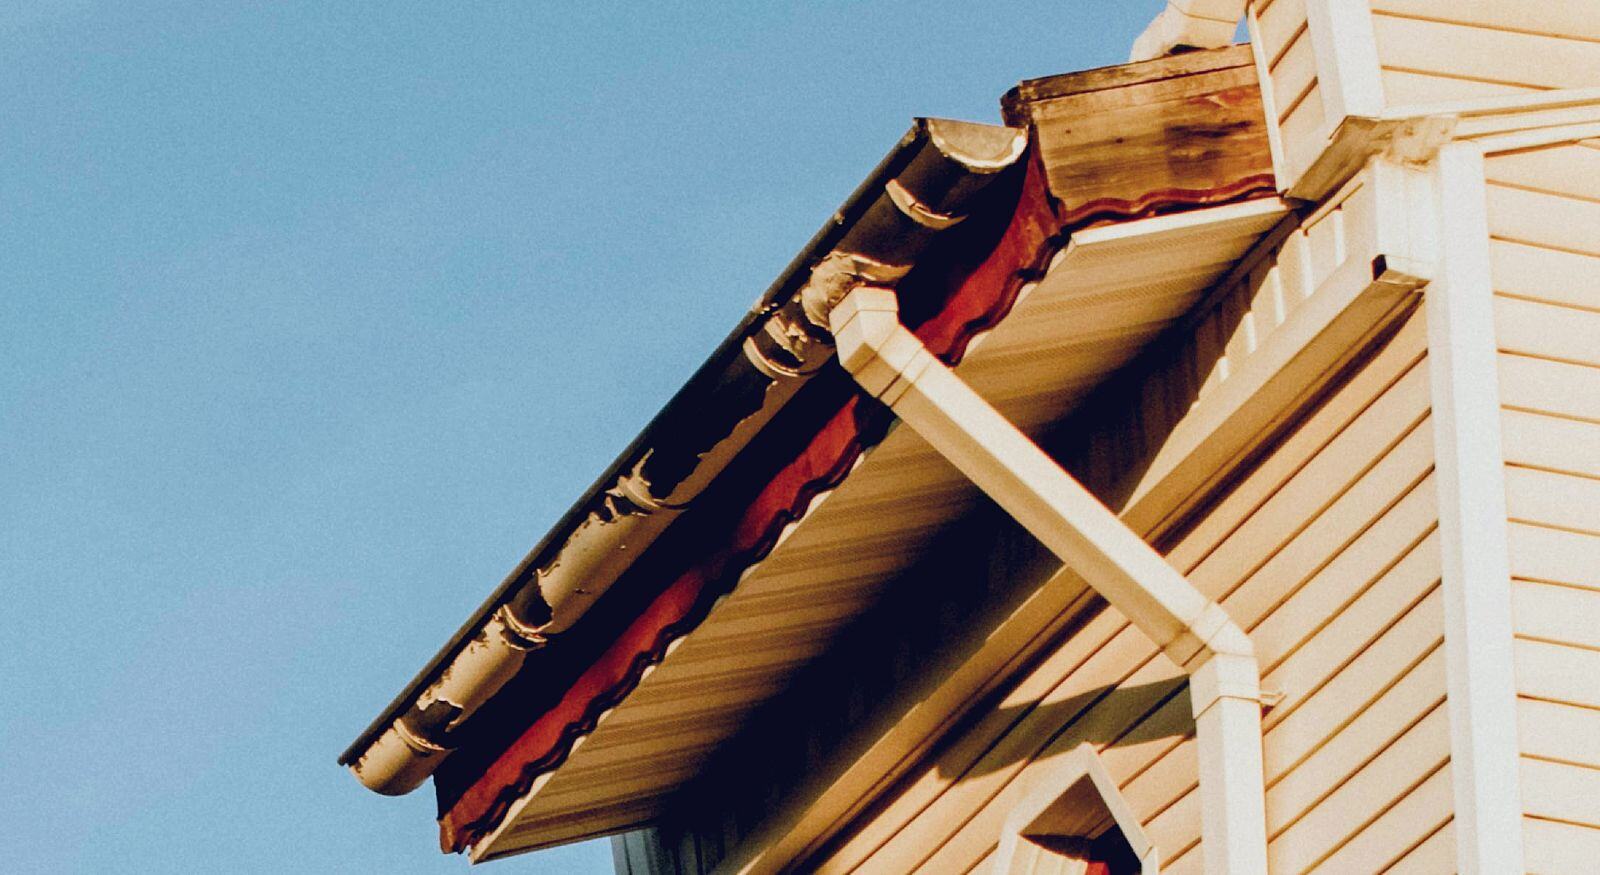
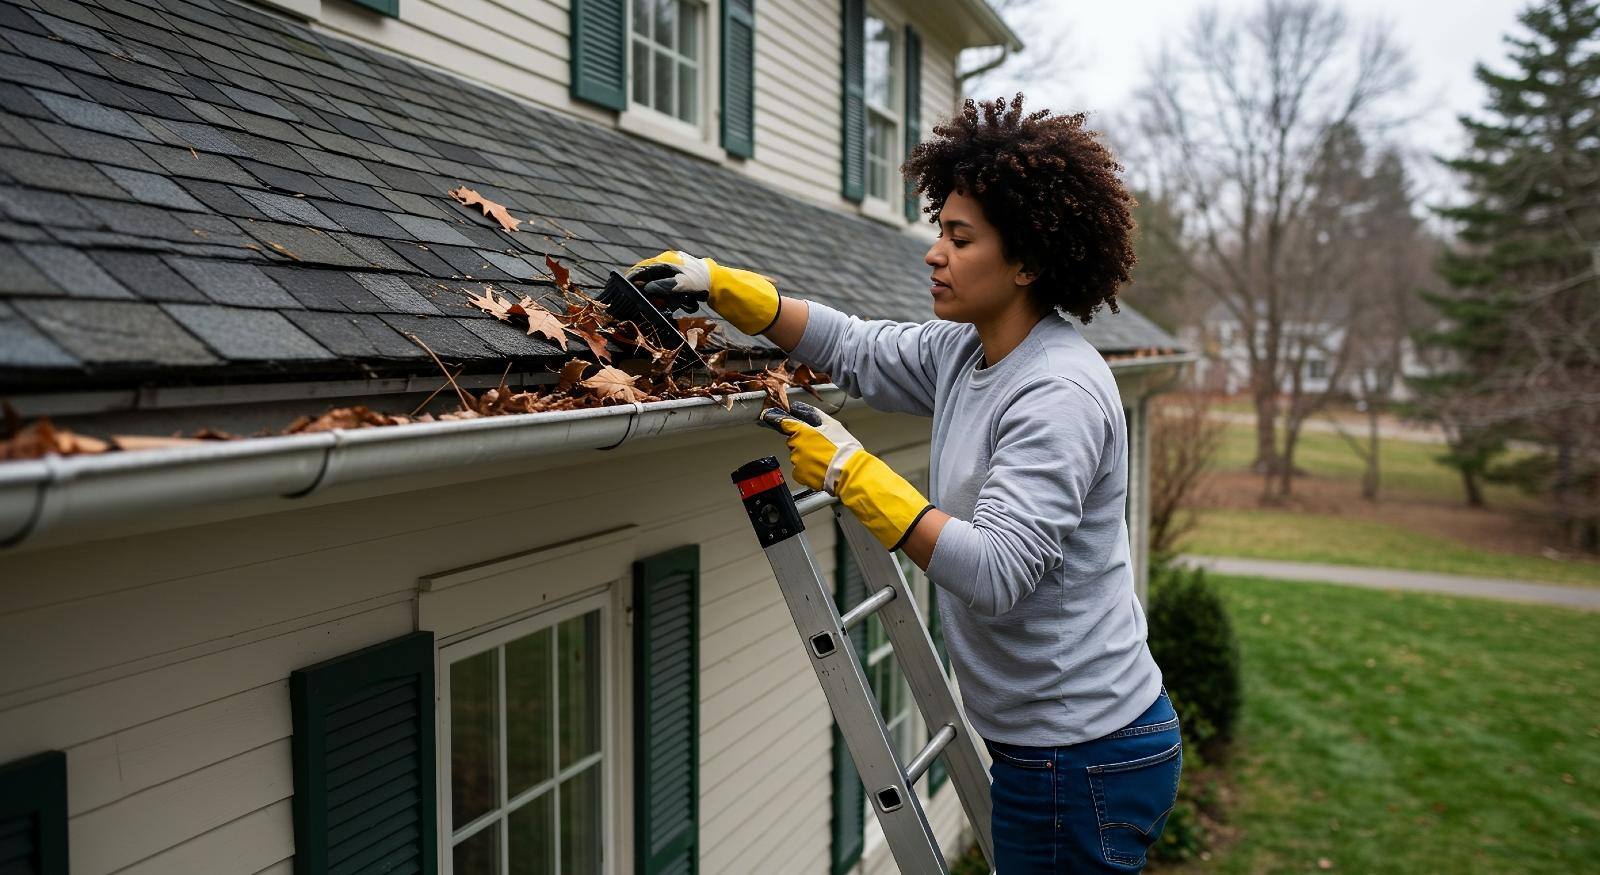
Step 1: The external inspection
After you call us and we set up an appointment, our technicians will arrive to examine the outside of your home. They will look for issues like non-functional gutters, the orientation of the lay of the land, a too-high soil level, or a buildup of foliage. This part of the process will be documented with pictures.
Step 2: The internal inspection
During this phase, one of the technicians will look for plumbing leaks, HVAC leaks, mold, and evidence of pests. Also, they will take readings on the building materials' moisture content and the area's relative humidity. We will also calculate the area's dimensions. All of this will be documented with pictures and videos.
Step 3: Initial estimation
Once that's done, our technicians will return to our office to write a report and create a first initial estimation, which will usually take two to three business days at most. This will include all the findings and the scope of the work to be done, which will be given to you to sign so we can start working on the crawlspace encapsulation of your home.
Step 4: Enhancing the space
After you have given us permission to start the project, the first step is to improve the working conditions in the area. Occasionally, when the crawlspace is too small to move safely, we excavate for more room.
If that's not the case, we proceed immediately with the next part, which is improving the area's visibility. For this, we install permanent lighting for your crawlspace using a licensed electrician.
This will not only help us speed up the process but also let you navigate the crawlspace with ease should you choose to do maintenance in the future.
Step 5: Cleaning up the area
Our technicians will clean the crawlspace of debris. We will also remove any temporary or partial vapor barrier not installed correctly. If there happens to be insulation underneath the crawlspace (which has been the case a couple of times), we will also remove it.
Step 6: Sealing off the perimeter
Next, we proceed to seal off the vents on the home's exterior so no air can intrude in, as well as any gaps in the exterior walls. In cases with brick exteriors, we use mortar on the outside to preserve the house's style and spray foam on the inside. This foam is an insulation and sealing product that limits air infiltration into the crawl space.
Step 7: Fixing the entrance
Usually, the entrance to the crawlspace is through a door on the home's exterior. Sometimes, particularly in old houses, the entrance is inside a closet. Whatever the case, this door must be airtight to prevent further air intrusion and maintain the area's relative humidity close to 50% or 55%. If necessary, which is usually the case, we will remove the door and replace it with one that seals off the area.
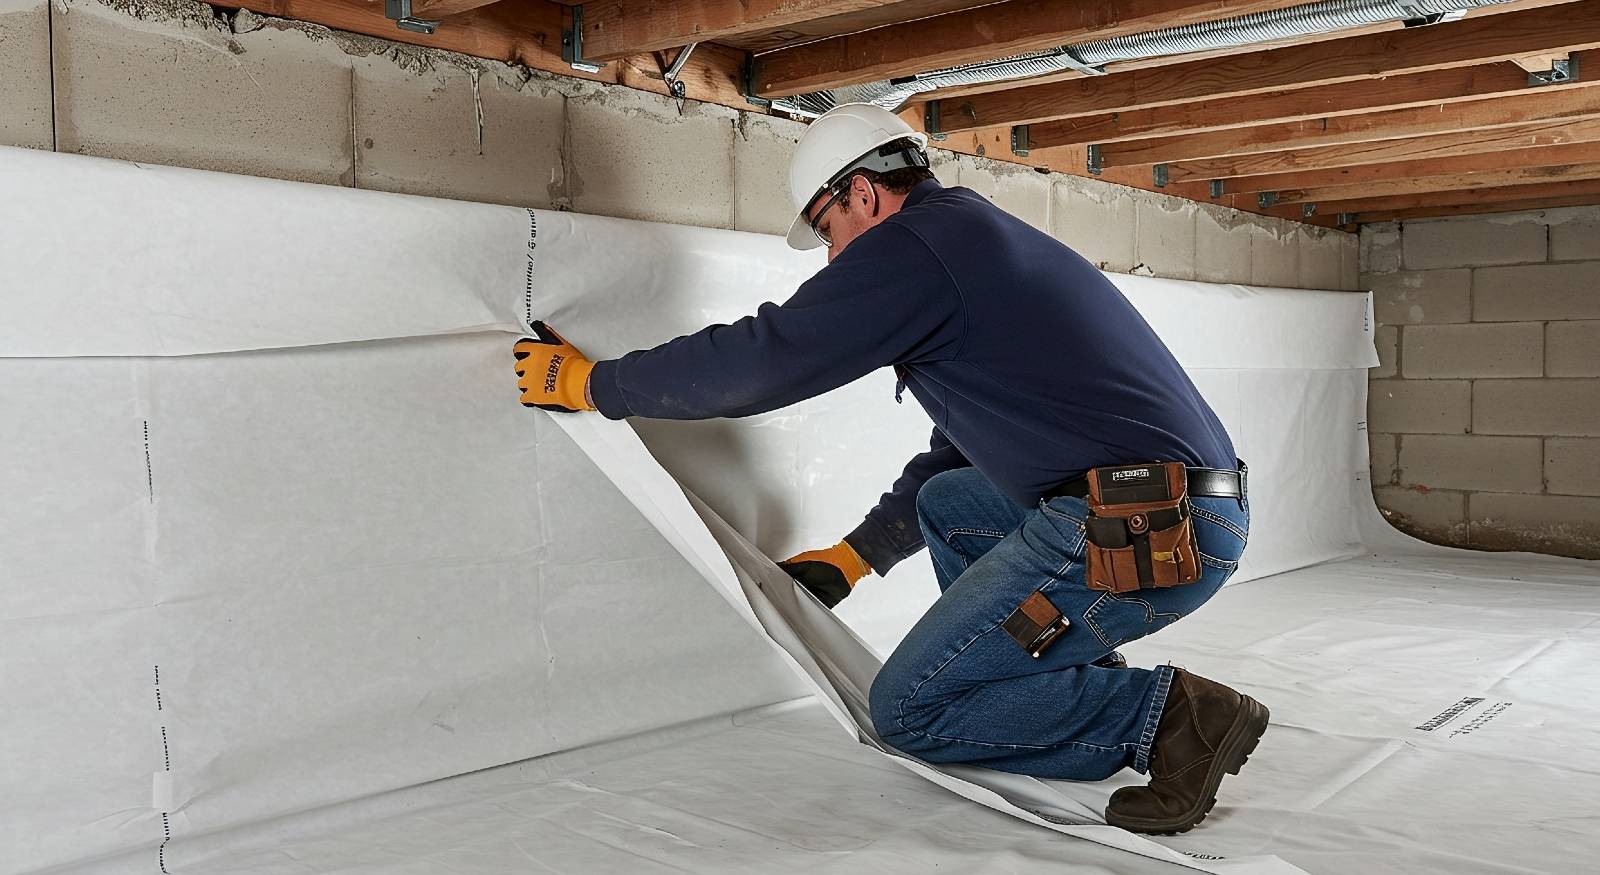
Step 8: Installing the vapor barrier system
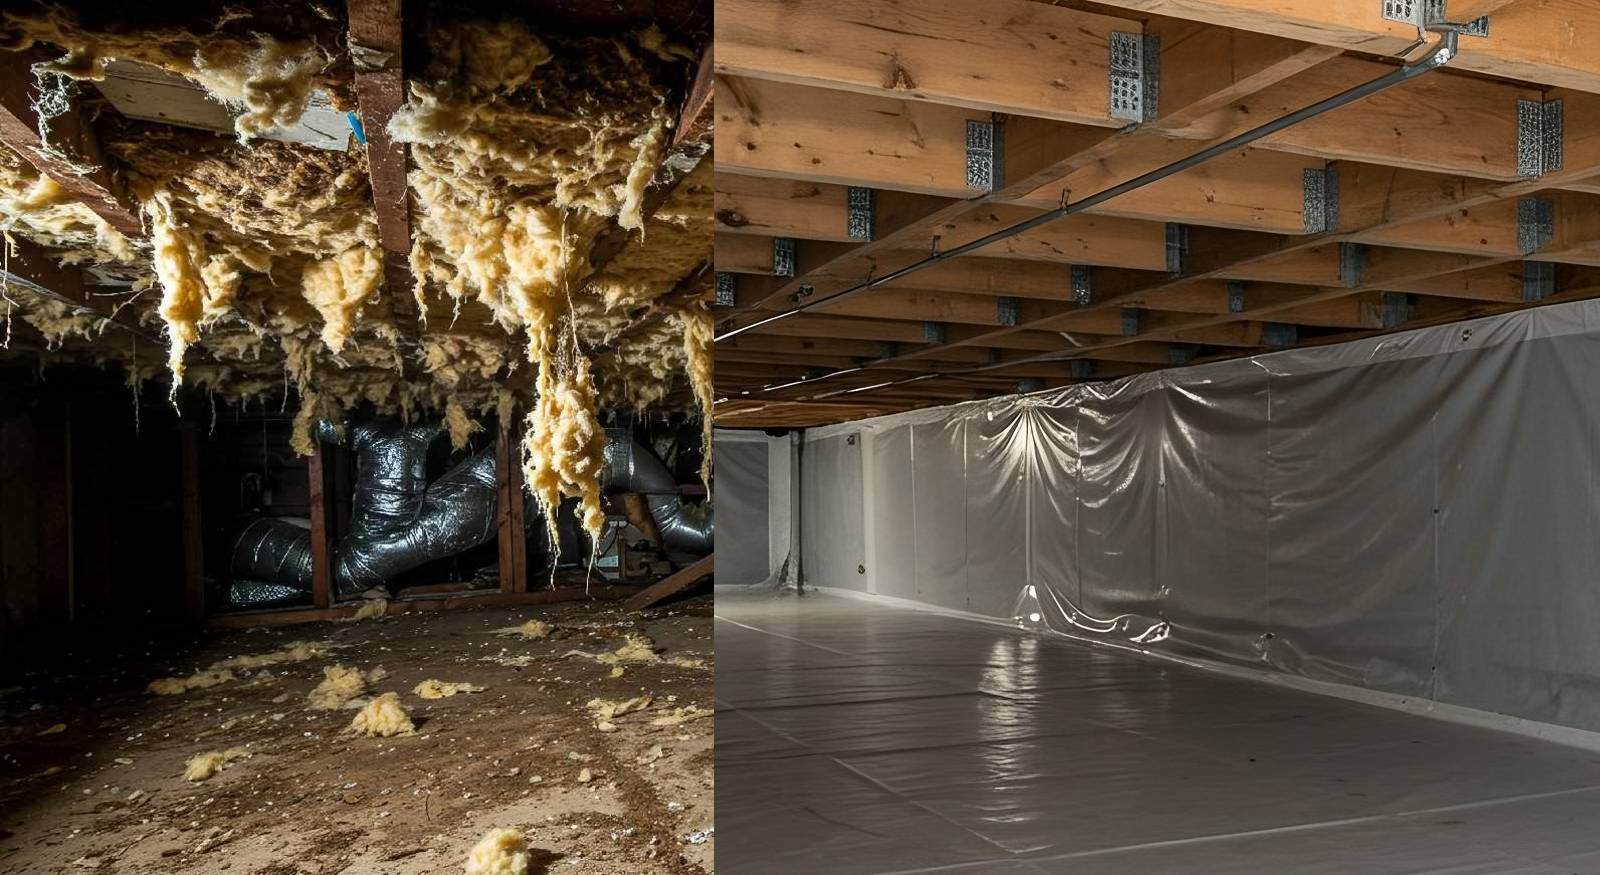
Some in the industry will have you believe that a “vapor barrier” of insulating plastic covering only the floor is enough for a crawlspace encapsulation project, but that is far from the truth. Doing it this way will leave the rest of your building materials unprotected from humidity.

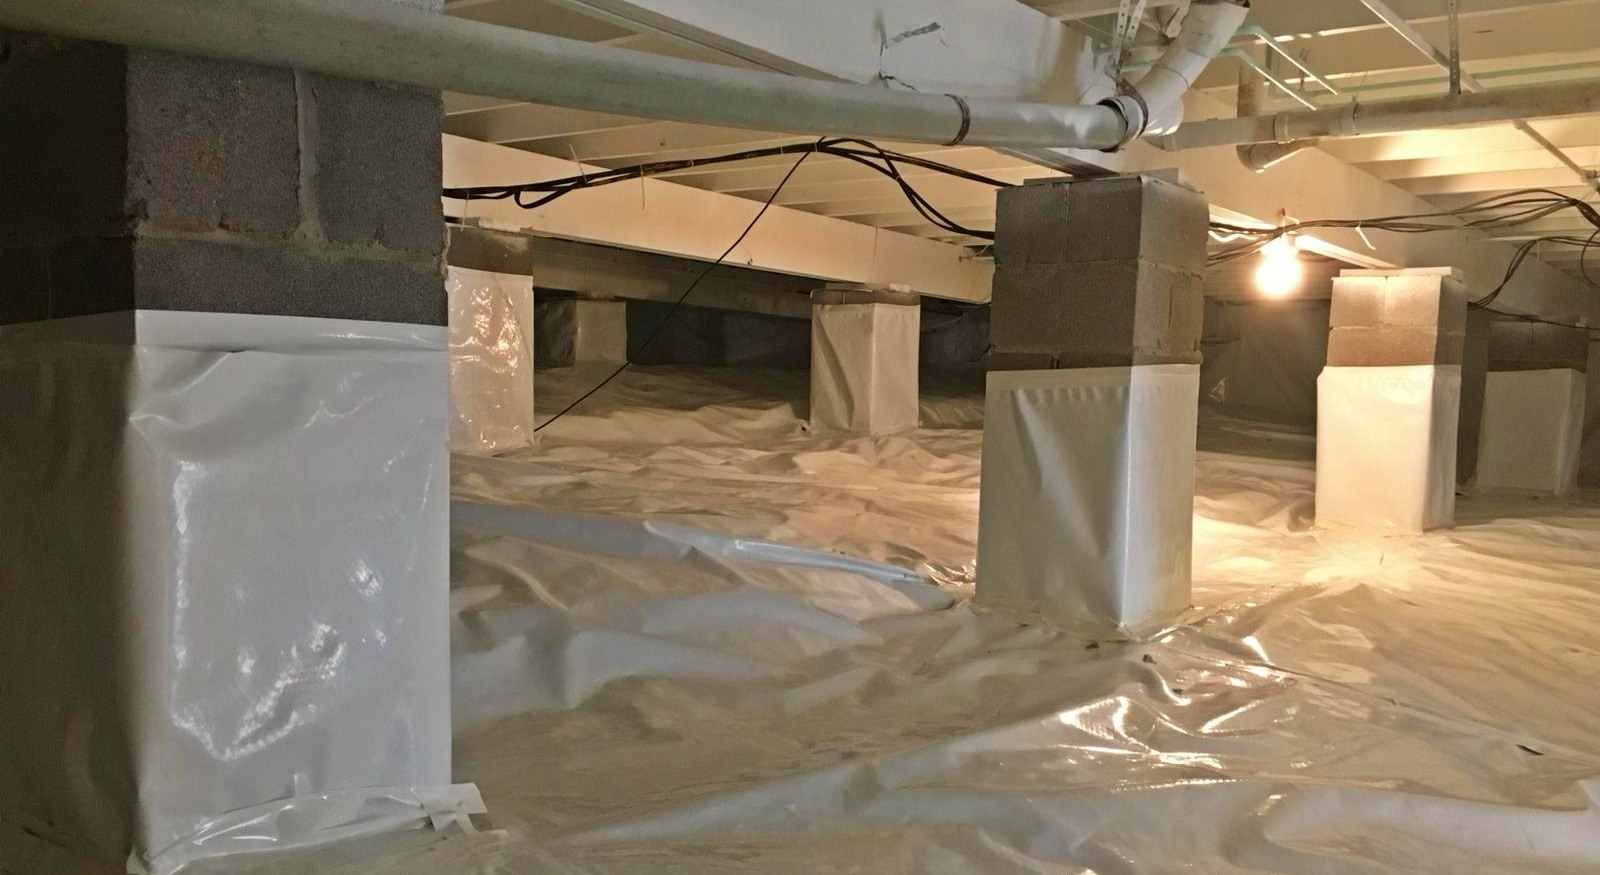
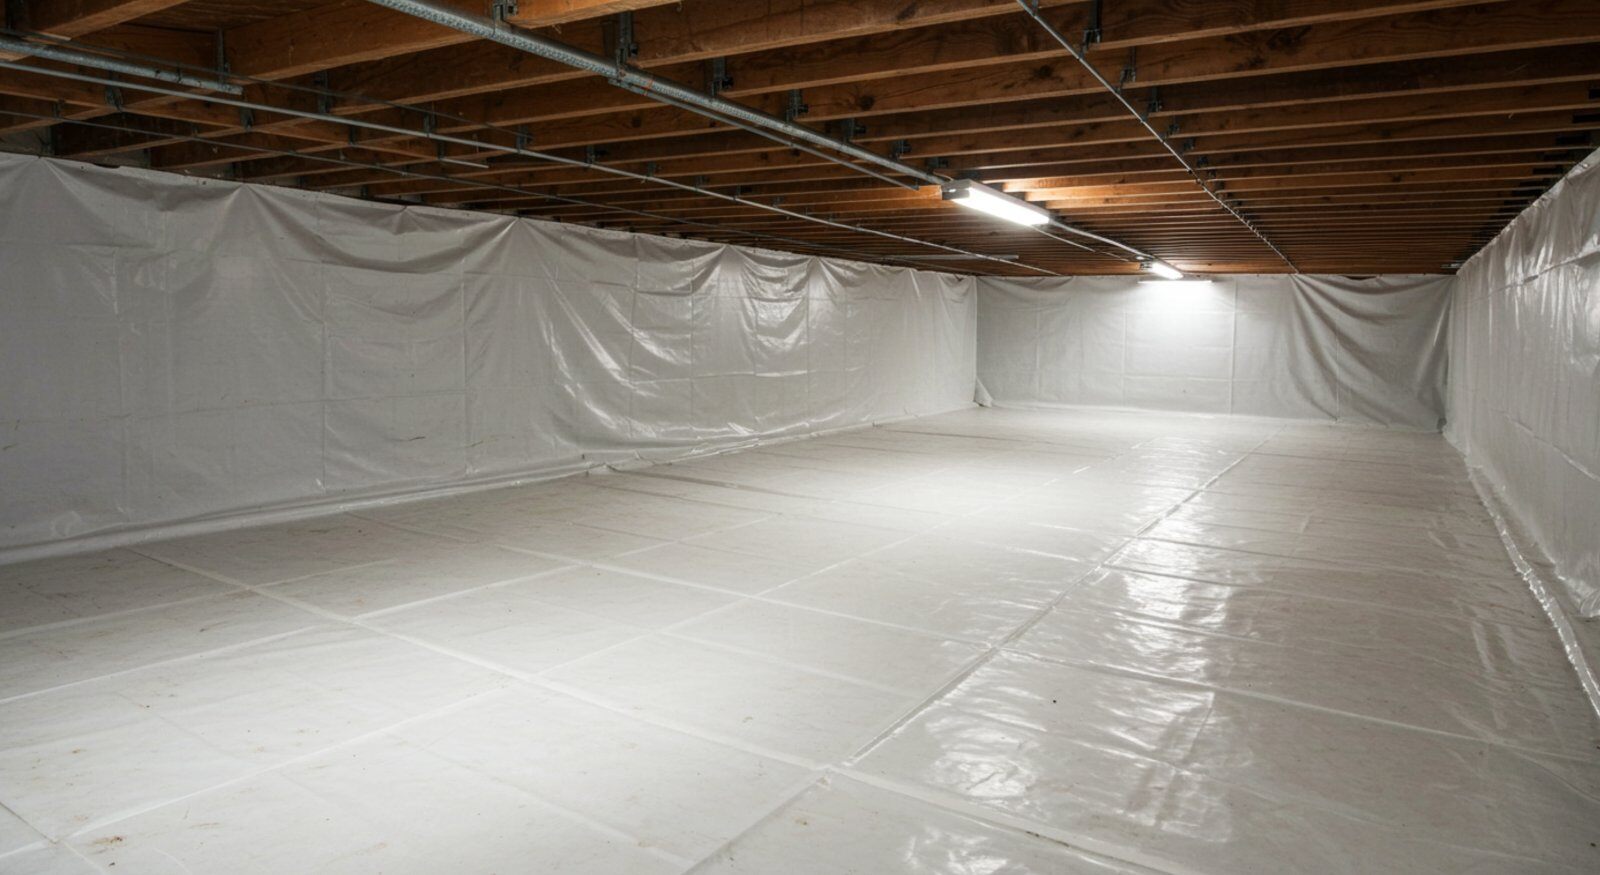
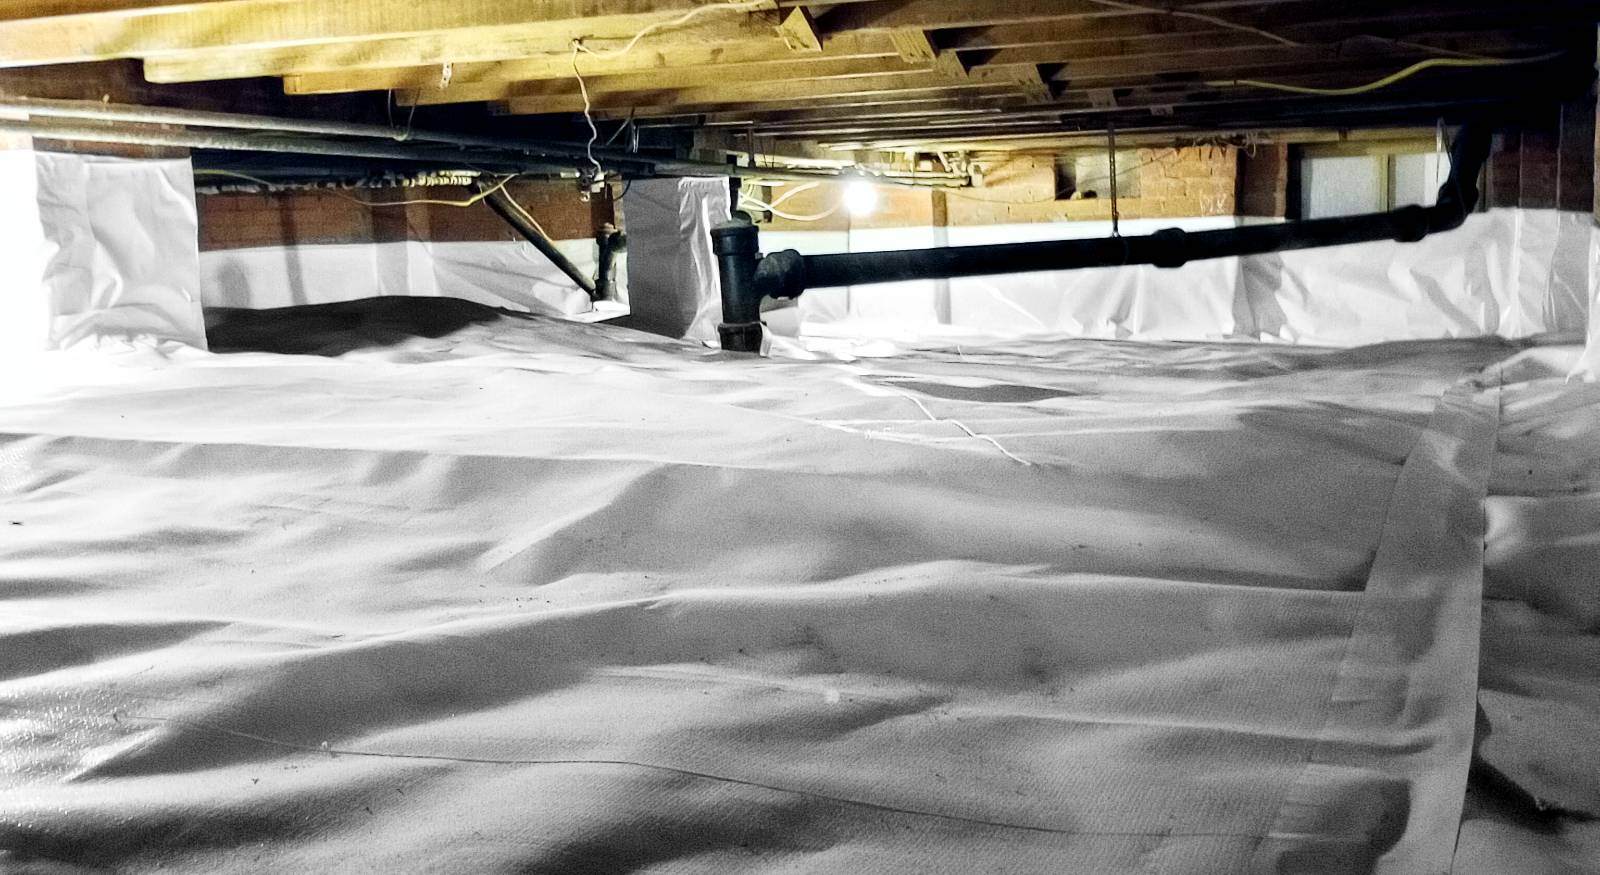
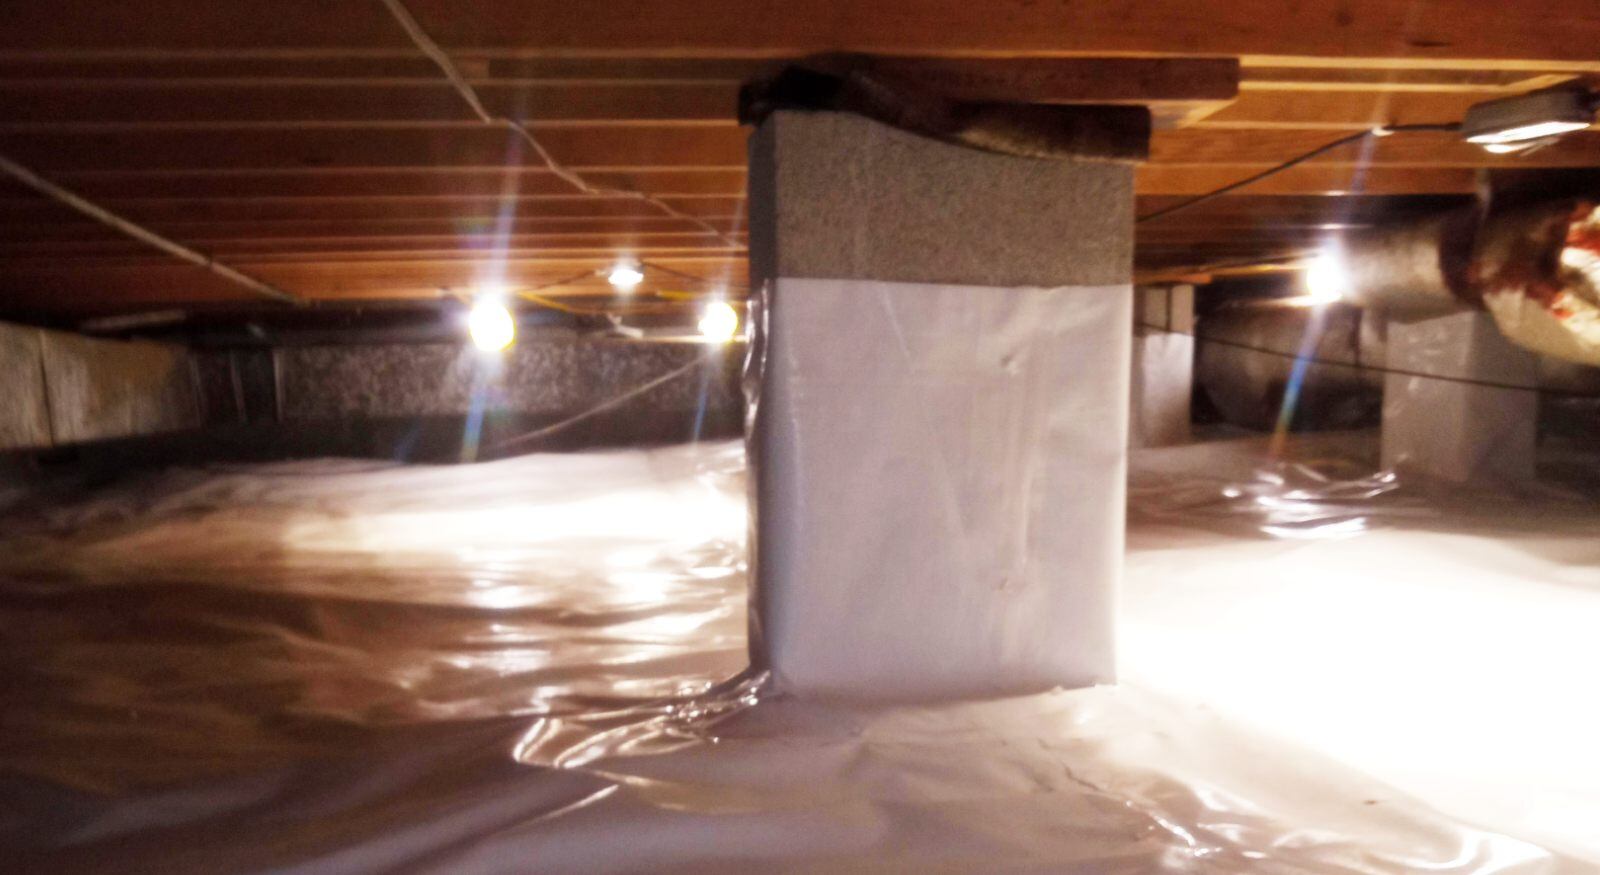
This is what our crawl space encapsulation looks like: with wall-to-wall vapor barriers.
In our process, we cover the crawlspace floors, walls, piers, and columns with polypropylene plastic to create a protective system. This plastic is tied together to ensure the integrity of the system.
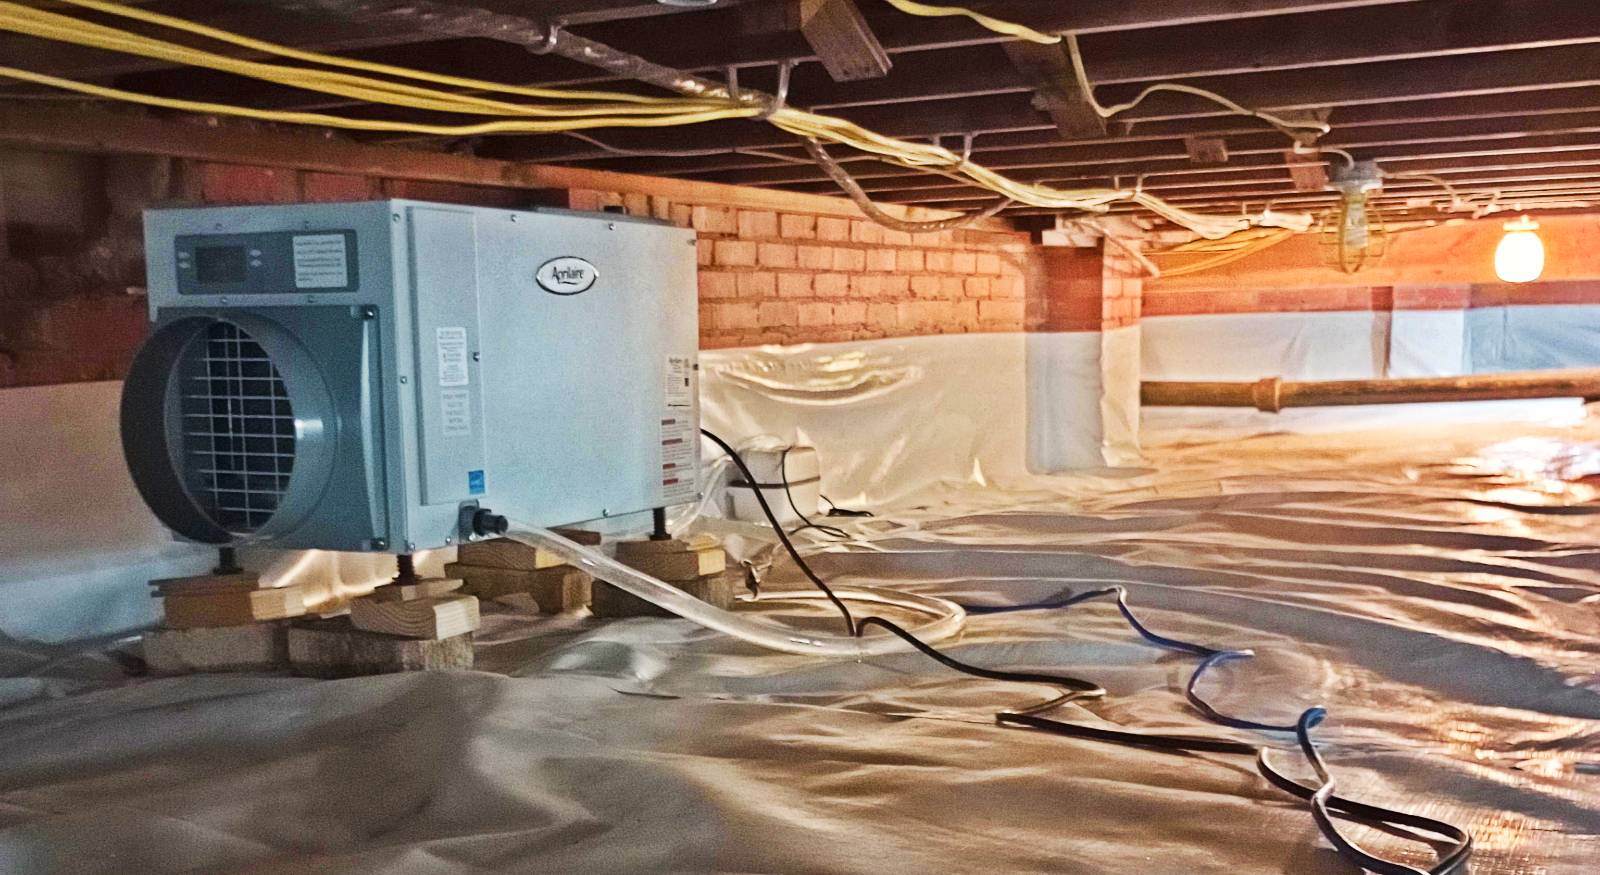
Step 9: Installing dehumidifiers
Having calculated the crawlspace area previously, we will install a dehumidifier and a condensation pump hooked to the outside of your crawl space. Because it needs to be installed above the floor level we will also elevate the equipment with cinder blocks. The size and characteristics of this equipment will depend on the size of the area. This machine will be another permanent fixture that, thanks to a hygrometer/thermostat, will turn on or off automatically to keep the humidity levels in check. While there, we will also install a humidity and temperature monitor in the living area of your home so you won’t have to go down every time you want to check the state of your home’s crawl space.
Step 10: Additional fixtures
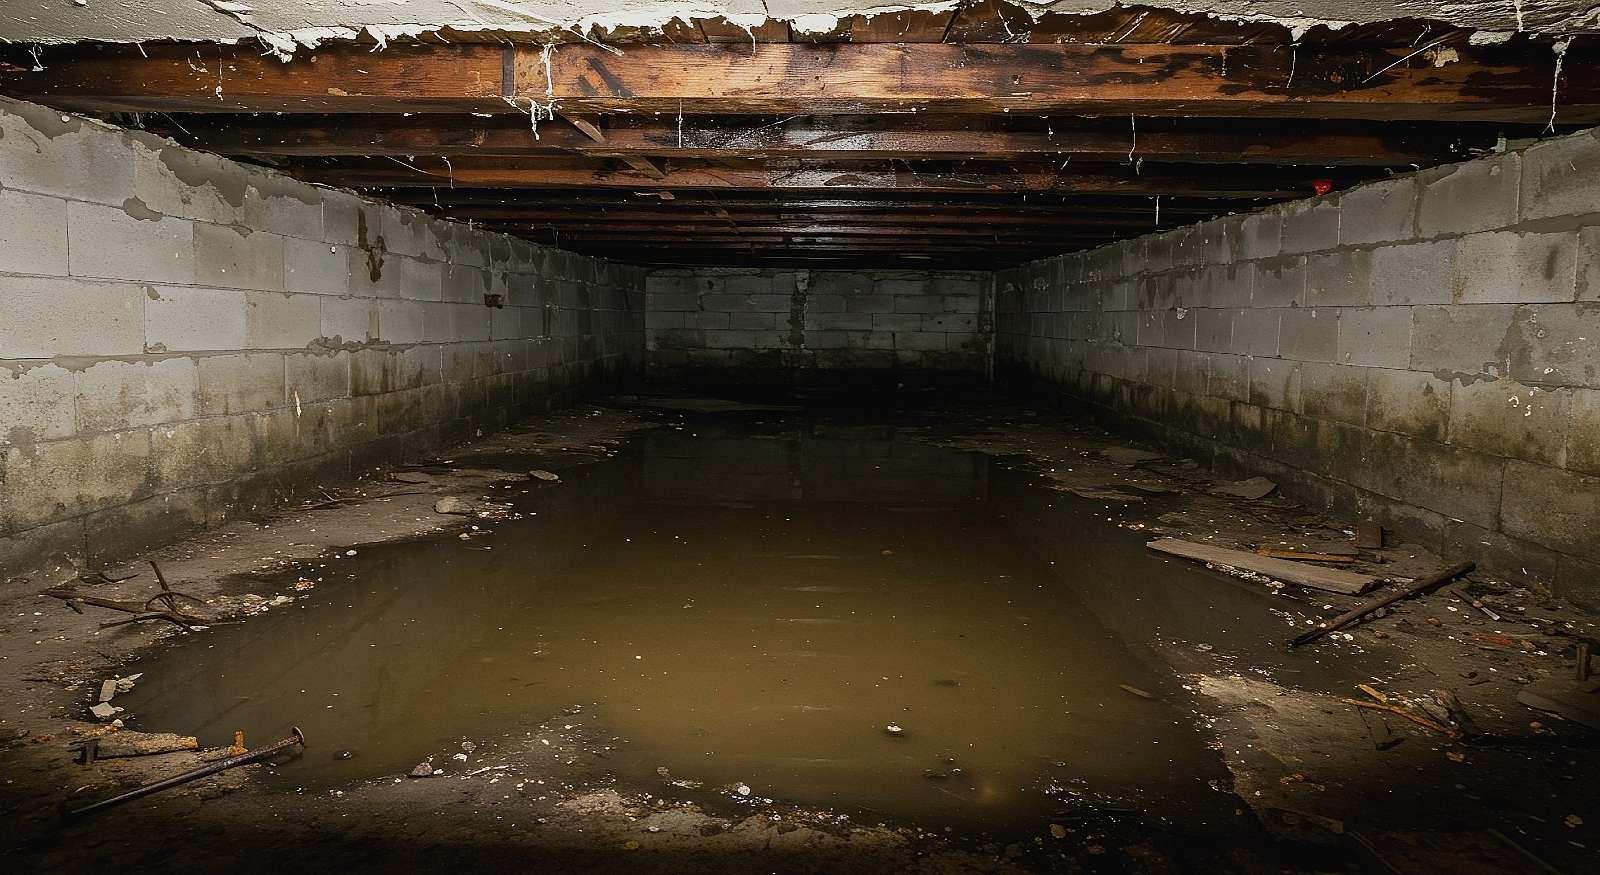
If you require it, we will complement the vapor barrier system with a sump pump. The sump pump protects the crawlspace from flooding and is installed in a sump pit or hole. It has a floating component that activates the mechanism if the water intrusion reaches a certain level.
In rare cases, we will need to install french drains around the perimeter of the crawlspace, which will connect to the sump pump to complement its function.
This step begins before the vapor barrier system is installed by excavating the terrain needed and continues once the polypropylene plastic has been set.
Step 11: Routine inspections and change of filters
While the crawlspace encapsulation is complete, that doesn’t mean it will last you forever. To ensure the proper functioning of the vapor barrier and change the dehumidifier's HEPA filter, we recommend a routine inspection twice a year.
So by now, you have learned what the inspection entails and how it helps us create the initial estimation. We talked about the importance of enhancing the space for us to work better and faster and for you, should you ever need to go underneath.
We also discussed the cleanup, the perimeter sealing, and the setting up of the vapor barrier system and the dehumidifier.
Now that you know how our crawl space encapsulation process works, contact us for an estimate. We are sure you and your family will see (and feel) the advantages of completely controlling your home's crawl space.

Topics:


